There are 14 steps to make a recording, or capture your live lecture. Follow the quick directions below.
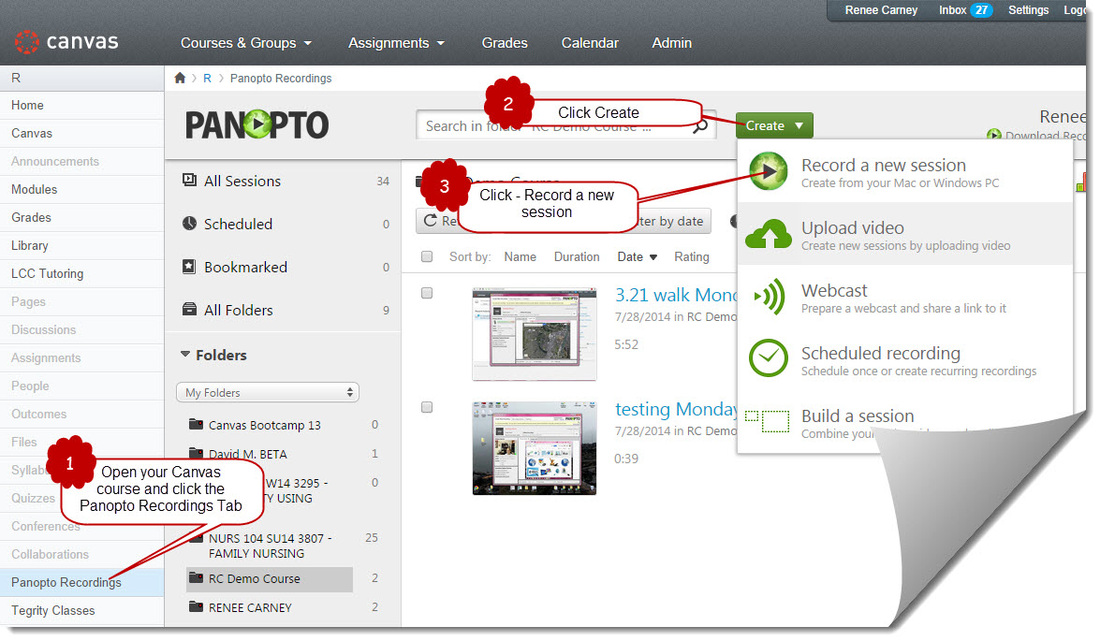
1. Open your course. Click the Panopto Recordings Tab on the far left.
2. Click the Green Create button.
3. Click Record a new session in the dropdown menu.
1. Open your course. Click the Panopto Recordings Tab on the far left.
2. Click the Green Create button.
3. Click Record a new session in the dropdown menu.
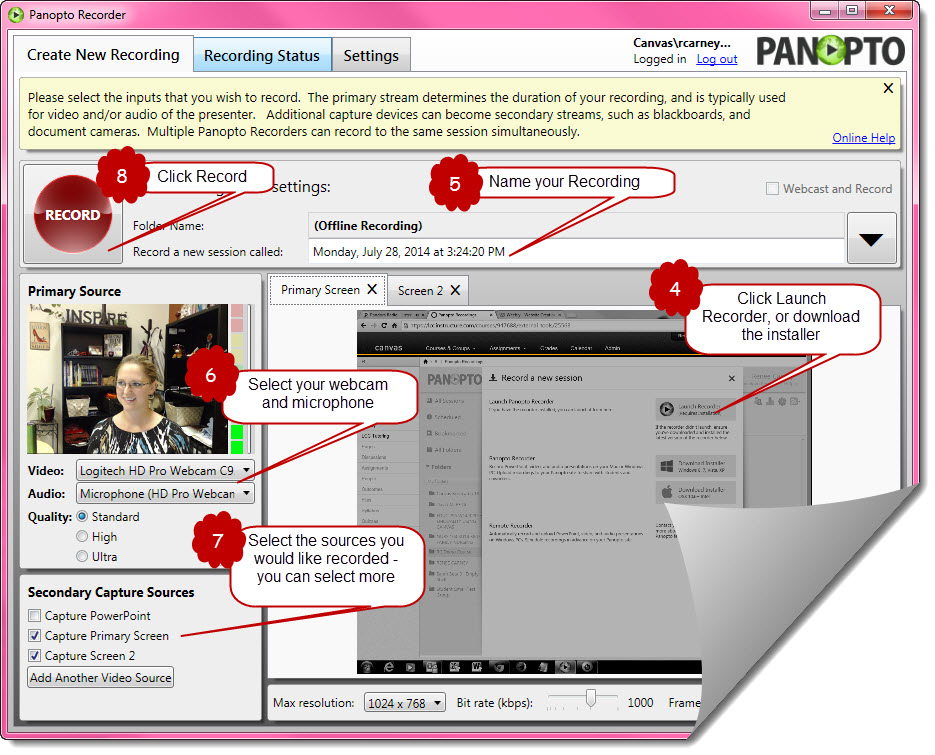
4. Click Launch Recorder from the popup screen. If you are on your home computer you may need to download the recorder.
5. Name our recording.
6. Select your webcam and microphone.
7. Select the sources (screens, powerpoints, doc cams, etc.) that you would like to record.
8. Click Record.
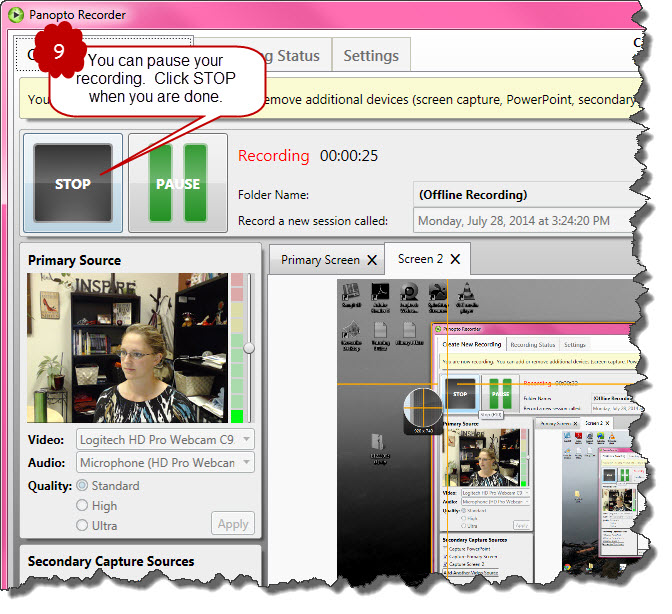
9. Click PAUSE if you need to switch content or change screens. Click STOP to stop the recording.
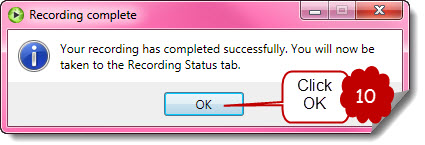
10. Click OK.
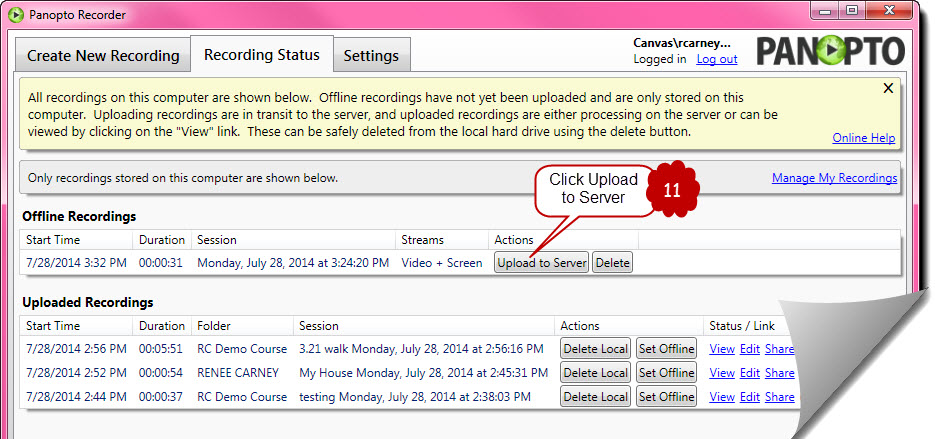
11. Click Upload to Server.
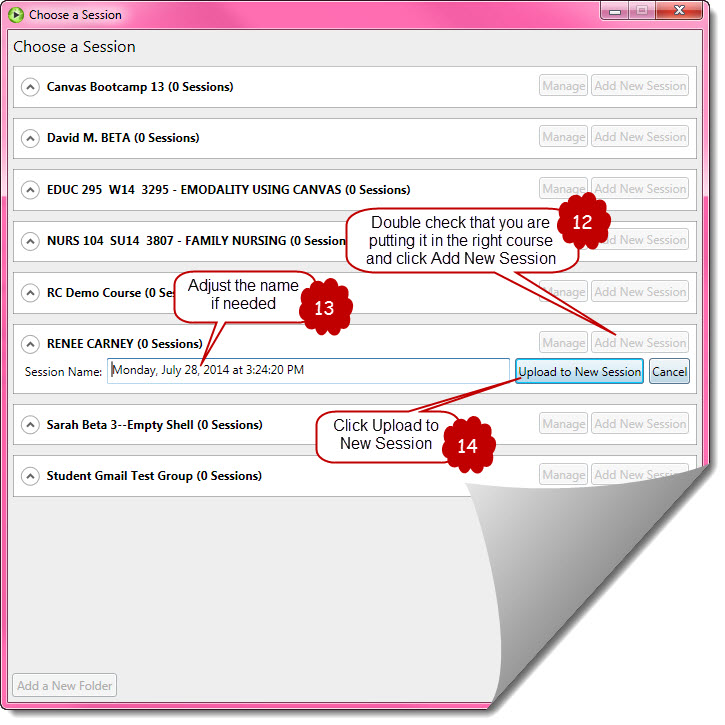
12. Make sure you are putting the recording in the correct course and click Add New Session.
13. Adjust the name if needed by typing in the Session Name box.
14. Click Upload to New Session.
13. Adjust the name if needed by typing in the Session Name box.
14. Click Upload to New Session.
Your recording will upload to your course and be available to students shortly.
Happy Recording!
Happy Recording!
 RSS Feed